1. Info: App Setup: Adding el Device, Connecting Wi-Fi, y Updating Firmware
First, you'll need a get el dispositivo connected a your network y ensure it's running el latest firmware using el LinknLink app.
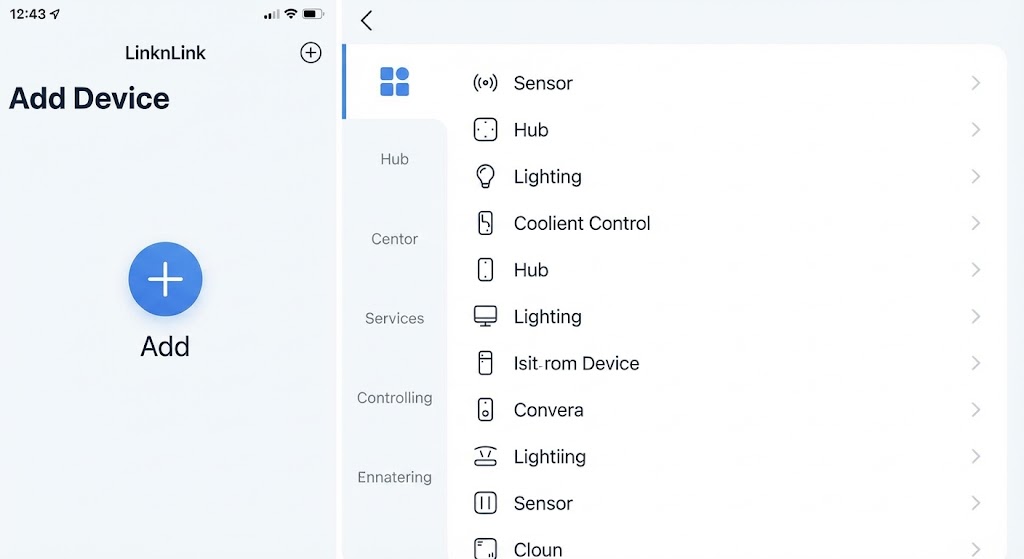
- Add el Device: Open el LinknLink app y tap el "+" icon o "Add Device" button on el main screen. Select el correct dispositivo category (e.g., "Sensor") de el list.
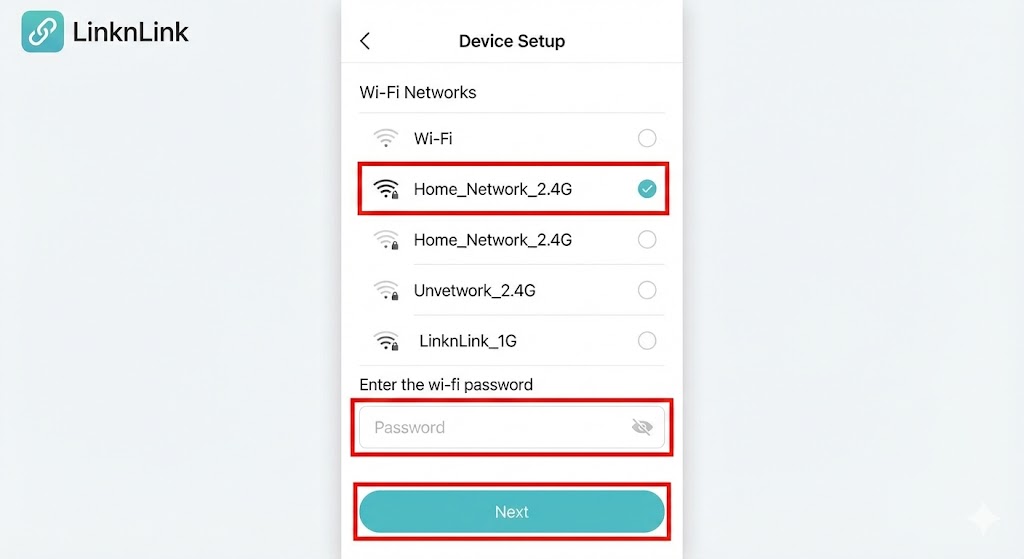
- Connect a Wi-Fi: Follow el on-screen instructions a put your sensor into emparejamiento modo. Once detected, el app will prompt you a seleccionar your 2.4GHz Wi-Fi network y introducir el password a connect el dispositivo a your home network.
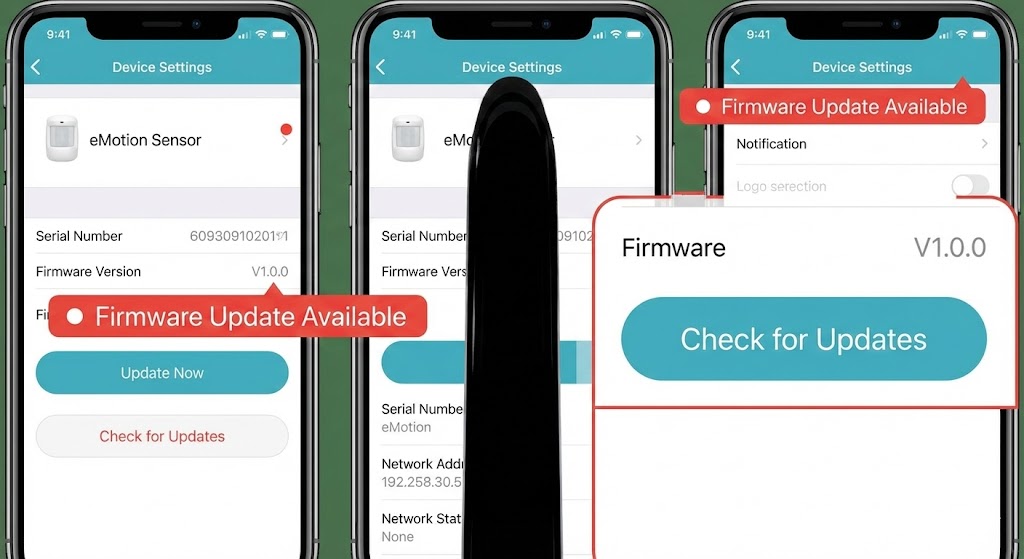
- Info: Update Firmware: After el dispositivo es successfully added, comprobar its settings page. If a new firmware version es available, you will see a notification. It es highly recommended a update a el latest version para el best performance y new features.
2. Sub-dispositivos: Configuring Presence, Light, y Temp/Humidity Sensors
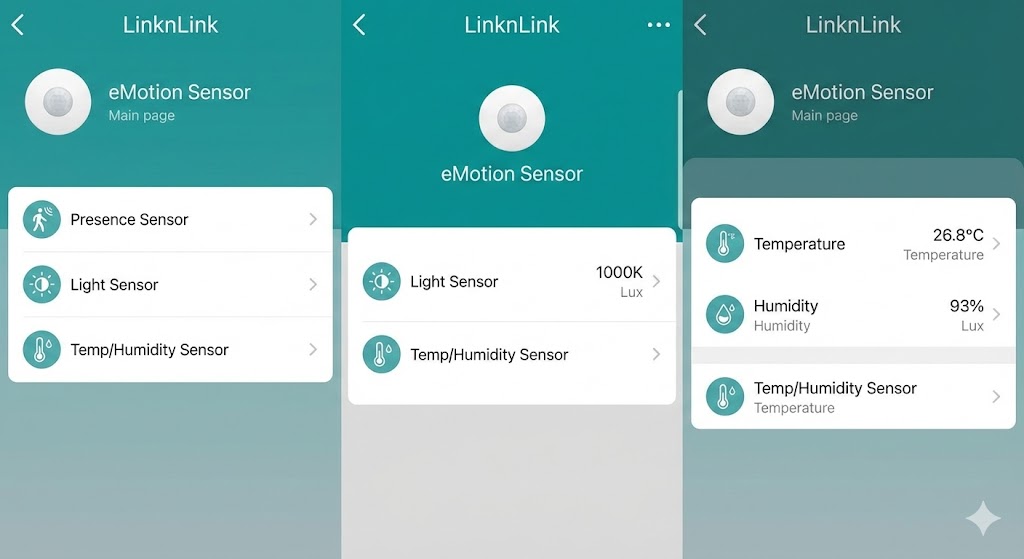
Once el eMotion Sensor es set up, you puede configure its individual components. On el dispositivo's main page in el app, you will see el different sub-dispositivos listed. Tap on each one a access its specific settings y view its real-time readings. You puede customize parameters para el Presence Sensor, Light Sensor, y Temp/Humidity Sensor a suit your needs
3. MQTT Integration: Connecting Locally a Home Assistant
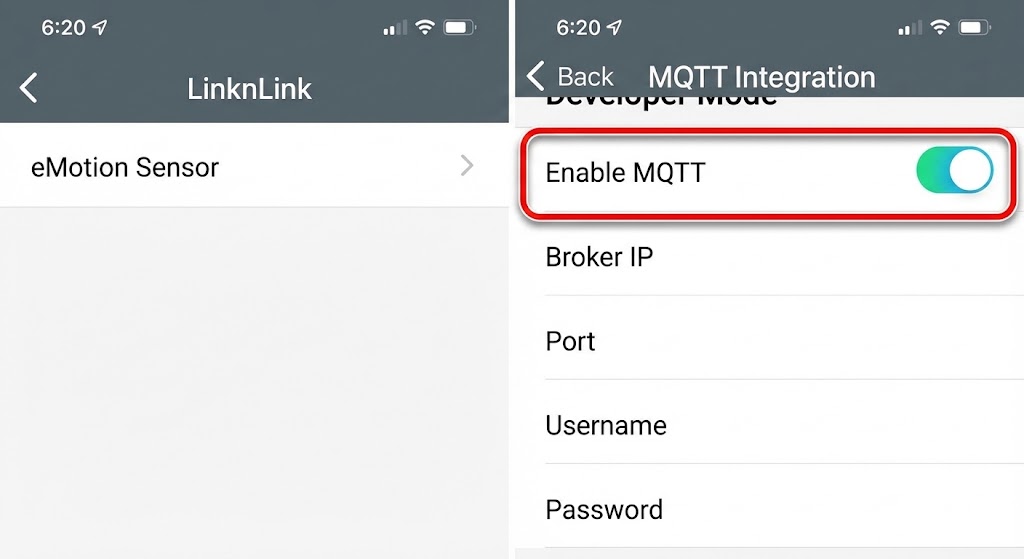
For advanced users who want a integrate el sensor con Home Assistant para local control, el LinknLink app offers a simple MQTT integration. Navigate a el dispositivo's advanced settings o a "Developer Mode" section. There, you will find a toggle a "Enable MQTT." Once enabled, you puede introducir your MQTT broker's details a establish a local conexión, allowing Home Assistant a discover y communicate con el sensor directamente.