


eMotion Air is designed to help Home Assistant users build presence-based room automations without running a power cable to every sensor location. It combines 24GHz mmWave presence sensing with light, temperature, humidity, and button inputs, and it can be used through Bluetooth or Zigbee depending on the installation.
As early Kickstarter backers start receiving eMotion Air devices, users are exploring setup, presence sensing, battery settings, and smart-home automations. This guide answers common questions and explains how the sensor, LinknLink App, Bluetooth, Zigbee, and Home Assistant paths work together.
Use the guidance below to understand detection timing, vacancy settings, Environment Learning, connection choices, and automation design. The goal is a clear installation process and the best everyday experience with eMotion Air.
Community Feedback
Based on feedback from LinknLink community members, we collected the most common questions about eMotion Air setup, detection behavior, battery life, and automation.

How eMotion Air Detects Human Presence
eMotion Air uses 24GHz mmWave radar rather than a simple motion-only trigger. The sensor evaluates reflected signals before reporting a human-presence state, so the first state change may appear shortly after a person enters the room.
Human presence reporting is typically around 1.5–5 seconds depending on the environment and firmware. Treat this as an operating reference, not a universal guarantee: placement, room geometry, communication mode, and the automation platform can affect what you see.

To test initial detection fairly:
- Pause the automation and watch the raw presence entity in the LinknLink App or Home Assistant.
- Walk into the intended detection area at a normal pace.
- Repeat the test from two directions and at two distances.
- Record the sensor state before testing the automation action.
If the raw entity changes before the light or climate automation responds, review the automation conditions, timing, and target-device path separately from the radar state.
How Vacancy Timing Supports Comfortable Automations
Initial presence detection and vacancy confirmation are separate decisions. A sensor may report presence quickly but wait for a configured period before changing to “no presence.” That delay is useful in real rooms because a person can sit still, move outside the strongest part of the detection area, or briefly leave a doorway without actually finishing the activity.
The no-presence confirmation time is configurable. Review the current value in the LinknLink App or integration so the vacancy behavior matches the way you use the room.
For lighting, a short vacancy timer may feel responsive but can create nuisance shutoffs. For heating, cooling, or energy routines, a longer delay is often more comfortable. A safer Home Assistant pattern is:
When presence changes to off
Wait for the configured vacancy period
Confirm the room is still unoccupied
Then run the low-risk action
Do not replace a presence state with “no motion for zero seconds.” That turns a deliberate occupancy signal into a fragile automation trigger.
Environment Learning for Consistent Room Sensing
Fixed interference sources in a room can contribute to false triggers. Environment Learning is designed to reduce false triggers caused by fixed interference sources by recording current environmental signals and creating filtering areas.

Run Environment Learning in the Normal Empty-Room Condition
- Remove people and pets from the intended detection area.
- Leave the room in its normal operating state.
- Keep fixed interference sources in the state they normally use.
- Start Environment Learning in the LinknLink App.
- Test the room again after learning has completed.
Environment Learning is not a guarantee of perfect detection. If a moving object is included in a filtering area, a person entering that same area may also be harder to detect. If the room layout or a large moving object changes, repeat the process under the new normal condition so the current environmental signals can be recorded again.
Keep the Useful Detection Area Open and Consistent
For the most consistent experience, keep the intended detection area open, review the sensor direction, and run Environment Learning with the room in its normal condition.
When a setup change affects the useful detection area, record the app version, firmware version, connection mode, placement, and raw entity behavior. These details help LinknLink support understand the installation context.
Bluetooth and Zigbee Connection Paths
eMotion Air supports Bluetooth and Zigbee, and each path has a different setup workflow. Bluetooth is often convenient for local setup or a Bluetooth-based Home Assistant path. Zigbee requires a compatible coordinator, a working mesh, and the correct integration. Choose the path that matches your intended hardware and automation environment.
Set Up a Bluetooth Path
- Confirm that the intended Bluetooth adapter, proxy, or integration can see the device from its installed location.
- Review distance, walls, metal objects, and other radio conditions.
- Keep the app connection and Home Assistant connection plan documented so the active path remains clear.
- In busy radio environments, compare the raw entity's update pattern with the selected connection path.
Set Up a Zigbee Path
- Confirm that the Zigbee coordinator and integration support the device model.
- Check that the sensor is joined to the intended network rather than a previous network.
- Inspect the mesh route and coordinator logs before changing presence settings.
- Allow time for low-power periodic reporting; battery devices do not behave like continuously streaming Wi-Fi sensors.
For a clean setup, choose one connection mode, record the intended network, remove stale pairings when the documented procedure calls for it, and complete one focused join or pairing attempt. If the device is visible in the LinknLink App but not in Home Assistant, review the bridge, coordinator, integration, and entity-discovery path.
How to Optimize eMotion Air Settings for Battery Life
Not every eMotion Air sensor reports in the same way. Presence is event-oriented, while light, temperature, humidity, and battery voltage may use periodic sampling or threshold-based reporting. More frequent updates can make a dashboard feel more responsive, but they can also increase radio activity and battery consumption.
The available configuration options can include radar vacancy duration, radar sensitivity, temperature and humidity sampling rate, light sampling rate, and light-level settings. Check the actual options and current values in the LinknLink App or firmware rather than treating any example interval as a fixed default.
For longer battery life:
- Use a sampling interval that matches the automation need instead of selecting the fastest possible update.
- Use threshold-based changes for climate or lighting where a constant stream is unnecessary.
- Keep the sensor within a stable Bluetooth or Zigbee path so repeated reconnects do not become the normal state.
- Review vacancy delays and automation loops that may repeatedly trigger other devices.
- Remember that the product’s “up to 1.5 years” battery statement depends on settings and usage; it is not a guaranteed runtime for every room.
Tips for Reliable Smart Home Automations
Start with the raw eMotion Air entities. Confirm presence, light, temperature, humidity, and button states before adding multiple conditions. Then build one low-risk automation and test its on and off behavior separately.

Use a Deliberate Vacancy Sequence
Avoid: “Turn off the lights immediately when no movement is detected.”
Prefer: “When presence is off for the configured vacancy delay, and the room is still unoccupied, turn off the lights.” Add a manual override or a maximum runtime where appropriate.
Use Environment Data as Context
Temperature and humidity can provide context for a comfort routine, but they should not be treated as instant control commands without limits. Use a range, a minimum time between changes, and a manual fallback. If you use Alexa or Google Home, document the actual bridge and supported entity path; do not imply that all devices or all sensor attributes are directly supported.
Give Button Actions Clear Ownership
Single, double, and long-press actions can be useful for a room scene or a manual override. Keep the action visible in the dashboard and avoid assigning a destructive action to an accidental short press.
A Practical Setup Review
- Check the physical direction and keep the forward detection area as clear as practical.
- Look for fixed interference sources or obstructions.
- Record whether the raw presence entity changes before reviewing the automation.
- Review the vacancy timeout separately from the initial presence behavior.
- Confirm that Environment Learning was completed with the room empty and in its normal state.
- Confirm whether the intended connection is Bluetooth or Zigbee.
- Check the bridge, coordinator, mesh, adapter, and entity discovery path.
- Review sampling and reporting settings against the battery requirement.
- Build and review one automation at a time with a manual fallback.
- Keep firmware, app, connection, placement, and raw-entity details available for future reference.
For the product overview, see the eMotion Air product page. For product-specific platform details, see the eMotion Air FAQ. For the initial battery placement workflow, see the eMotion Air Home Assistant setup guide. Browse the Presence Sensors collection for related products. This Guide focuses on common questions after or during setup rather than reproducing Help Center answers.
Watch Real User Reviews
The following community resources were supplied for this draft. The UK and Mexico creator names and review labels are taken from confirmed LinknLink product content; the remaining source list did not provide reviewer names or exact titles. Verify attribution and final destinations before publication.
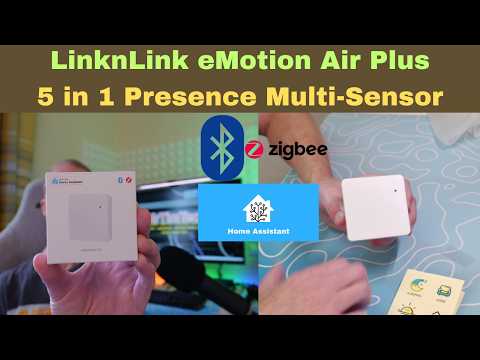
UK Creator Review
A community review of the eMotion Air multi-sensor and its setup experience.
Watch review ↗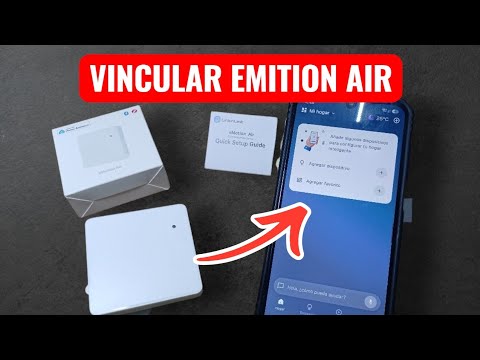

ONE WAY TRIP TO THE JUNGLE. $17, TEMPERATURE AND HUMIDITY INCLUDED
A supplied US hands-on review covering eMotion Air temperature monitoring and real-world usage context.
Read article ↗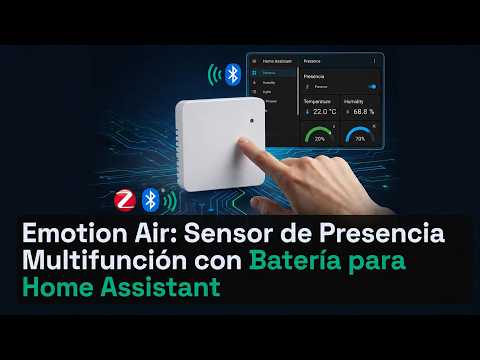
Video title not provided in source
A supplied US video link for comparing the guide’s setup checks with real usage.
Watch video ↗
Video title not provided in source
A supplied US short-video link for quick visual setup context.
Watch short video ↗Getting the Best eMotion Air Experience
Learning how eMotion Air works becomes clearer when you separate four layers: radar behavior, App settings, the Bluetooth or Zigbee path, and Home Assistant automation logic. A short detection delay may be normal; a longer vacancy state may reflect the configured timer; room conditions can influence sensing; and Home Assistant entities depend on the bridge or coordinator path.
Use controlled tests, change one variable at a time, and treat exact timing values as configuration-dependent. With the sensor installed in a clear position, Environment Learning completed correctly, the intended connection path documented, and automations built around presence rather than instant motion-off events, eMotion Air is easier to evaluate and maintain.
Common Questions About eMotion Air
How does eMotion Air Detect Human Presence?
It uses 24GHz mmWave sensing and processes the reflected signal before changing the presence state. Human presence reporting is typically around 1.5–5 seconds depending on the environment and firmware.
How does vacancy timing support room automations?
The no-presence timeout is separate from initial detection. Review the configured vacancy period in the App or Home Assistant integration so lights and climate routines match the way the room is used.
How does Environment Learning support consistent sensing?
It is designed to reduce false triggers caused by fixed interference sources by recording current environmental signals and creating filtering areas. Run it with the room empty and in its normal operating condition.
How should I choose Bluetooth or Zigbee with Home Assistant?
Use the path that matches your hardware and integration. Bluetooth needs a suitable adapter, proxy, or integration; Zigbee needs a compatible coordinator and mesh. Keep the intended network documented during setup.
How can I optimize battery life?
Use reporting and sampling intervals that match the automation need, keep the radio path stable, and prevent repeated automation loops. Battery runtime depends on settings, radio conditions, firmware, and usage, so “up to 1.5 years” is a product reference rather than a guarantee.
Quick Setup Checklist for the Best Experience
Use these steps when finalizing your eMotion Air installation and automation setup:
- Check installation direction.
- Check Environment Learning settings.
- Check detection timeout.
- Check Bluetooth/Zigbee connection.
- Update firmware and the LinknLink App.